Adding and managing content

Andrew
Last Update 5 years ago
Content and applications added to the company will be available to add to the project here.
- Ensure that the content you want to upload is added to the company.
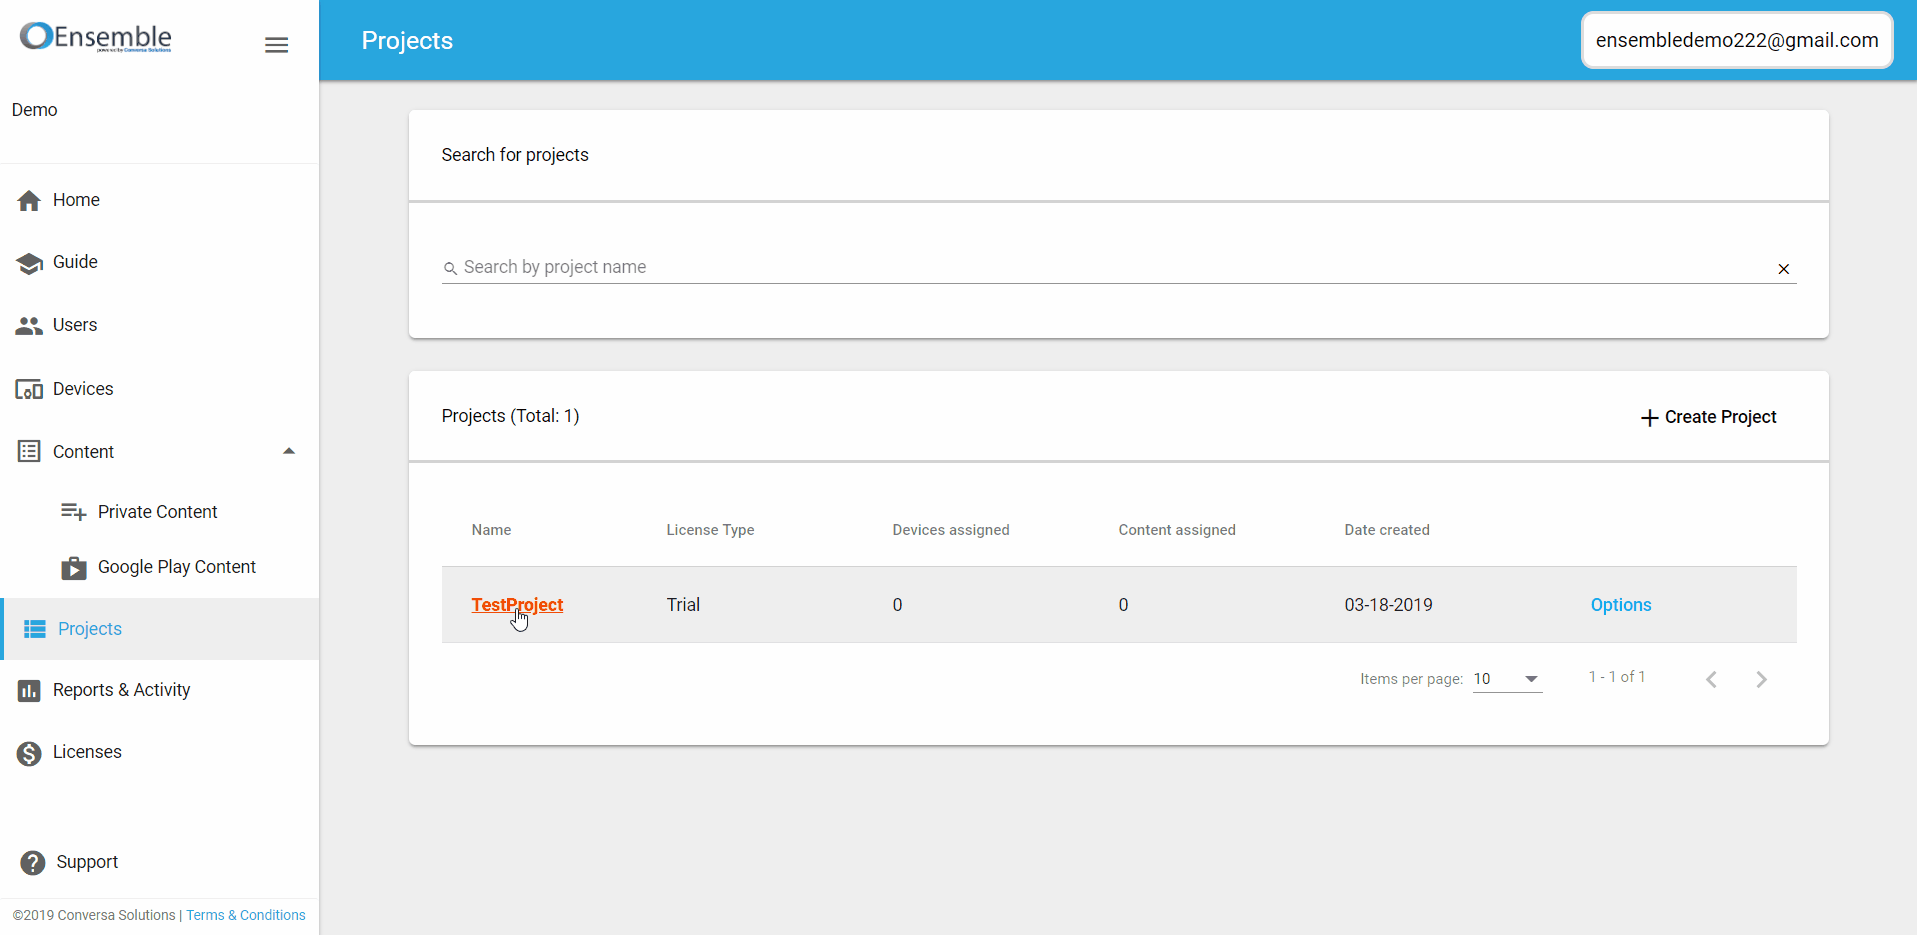
- Navigate to your project by selecting your project from the Projects table, then click "Content" on the nav-bar.
- From the Content table, click "Add Content" in the top-right.
- Select the content from the table you'd like to add, and click "Next".
- If files are selected, you will be directed to select a file path for where to store the file on the device. Also, enter a name for the file (this will only replace it on the project).
- The file name can be changed when adding a single file.
- The file name cannot be changed when adding multiple files, but all files will go to the same location. You can change the names of these files later.
- The file path you choose determines the location on your phone where your content will be saved.
- APK files do not get a file location. They are installed and not stored on the memory of the phone with the rest of the content.
- Click "Save Content Changes" at the top of the page.
- The newly added content will appear in the table.
- Content will appear in the table as shown below.
Managing/Removing content from a project
- Select the content for which you'd like to manage, then click "Options" in the far-right column.
- There are two options:
- Edit/View Information: will open a pop-up where you can view information pertaining to the selected content. For files, you can change the file name and location. For applications, you can change the permissions allowed for it in the project. Use the "Save Content Changes" at the bottom of the pop-up to commit these changes.
- Delete: will remove the content from the project and also the device. Click "Save Content Changes" at the top of the page to commit these changes to the project.

Managing VR content in a project
VR content can be managed using the application's OSIG.
- OSIGs can be signed into applications if the application has OSIG Mode ‘Inject’ selected and the corresponding OSIG has been uploaded in the devices page.
- This will override the company content OSIG Mode setting. i.e. The library can set the OSIG Mode to NONE and by default the mode will be NONE.